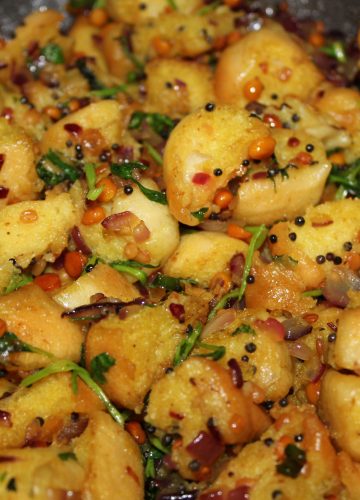
I wrote about snack times earlier…and in this lockdown, that continues. We were able to see the bottom of the snack rack…..and that was a clear sign that I had to do something. Chai times are something that Panch and I are savoring these days, often towards the end of a long work day. So while I have never been a snacker, I find that these days, it’s been a ritual that I have taken to…’chai and chat!’ So, decided that frying some snacks with a long shelf life was the way to go! Looked at the pantry and found some millet flours that showed promise. Everything is better after being dunked in hot oil, no?? Definitely!! So, the Raagi Thengozhal was born! And boy oh boy is it yummy! And I was feeling emboldened…so out comes the Jowar flour and is turned into the Mullu Thengozhal! And just to make sure that we have backup in case these two experiments do not pan out, I made a batch of the regular traditional Thengozhal which are my favorite….But I shouldn’t have worried. The Raagi and the Jowar flours rose up to the challenge and made for absolutely delicious and crisp murukkus! These ‘relatively healthy,’ gluten-free treats should definitely be on your list of ‘must make, must eat!’
I have found that making these things is so easy here in the US where these flours are readily available in the Indian store. I find that most folks in India still dry roast the dals and grind them into powders and sieve them to get the final product. Maybe the flours are available now…I am not sure. While not difficult, they definitely add a few extra layers of work. Here I just create a work station with 3 different platters with a combination of different ready flours for each variety. Knead one dough, start frying and then go through the rest one after the other.
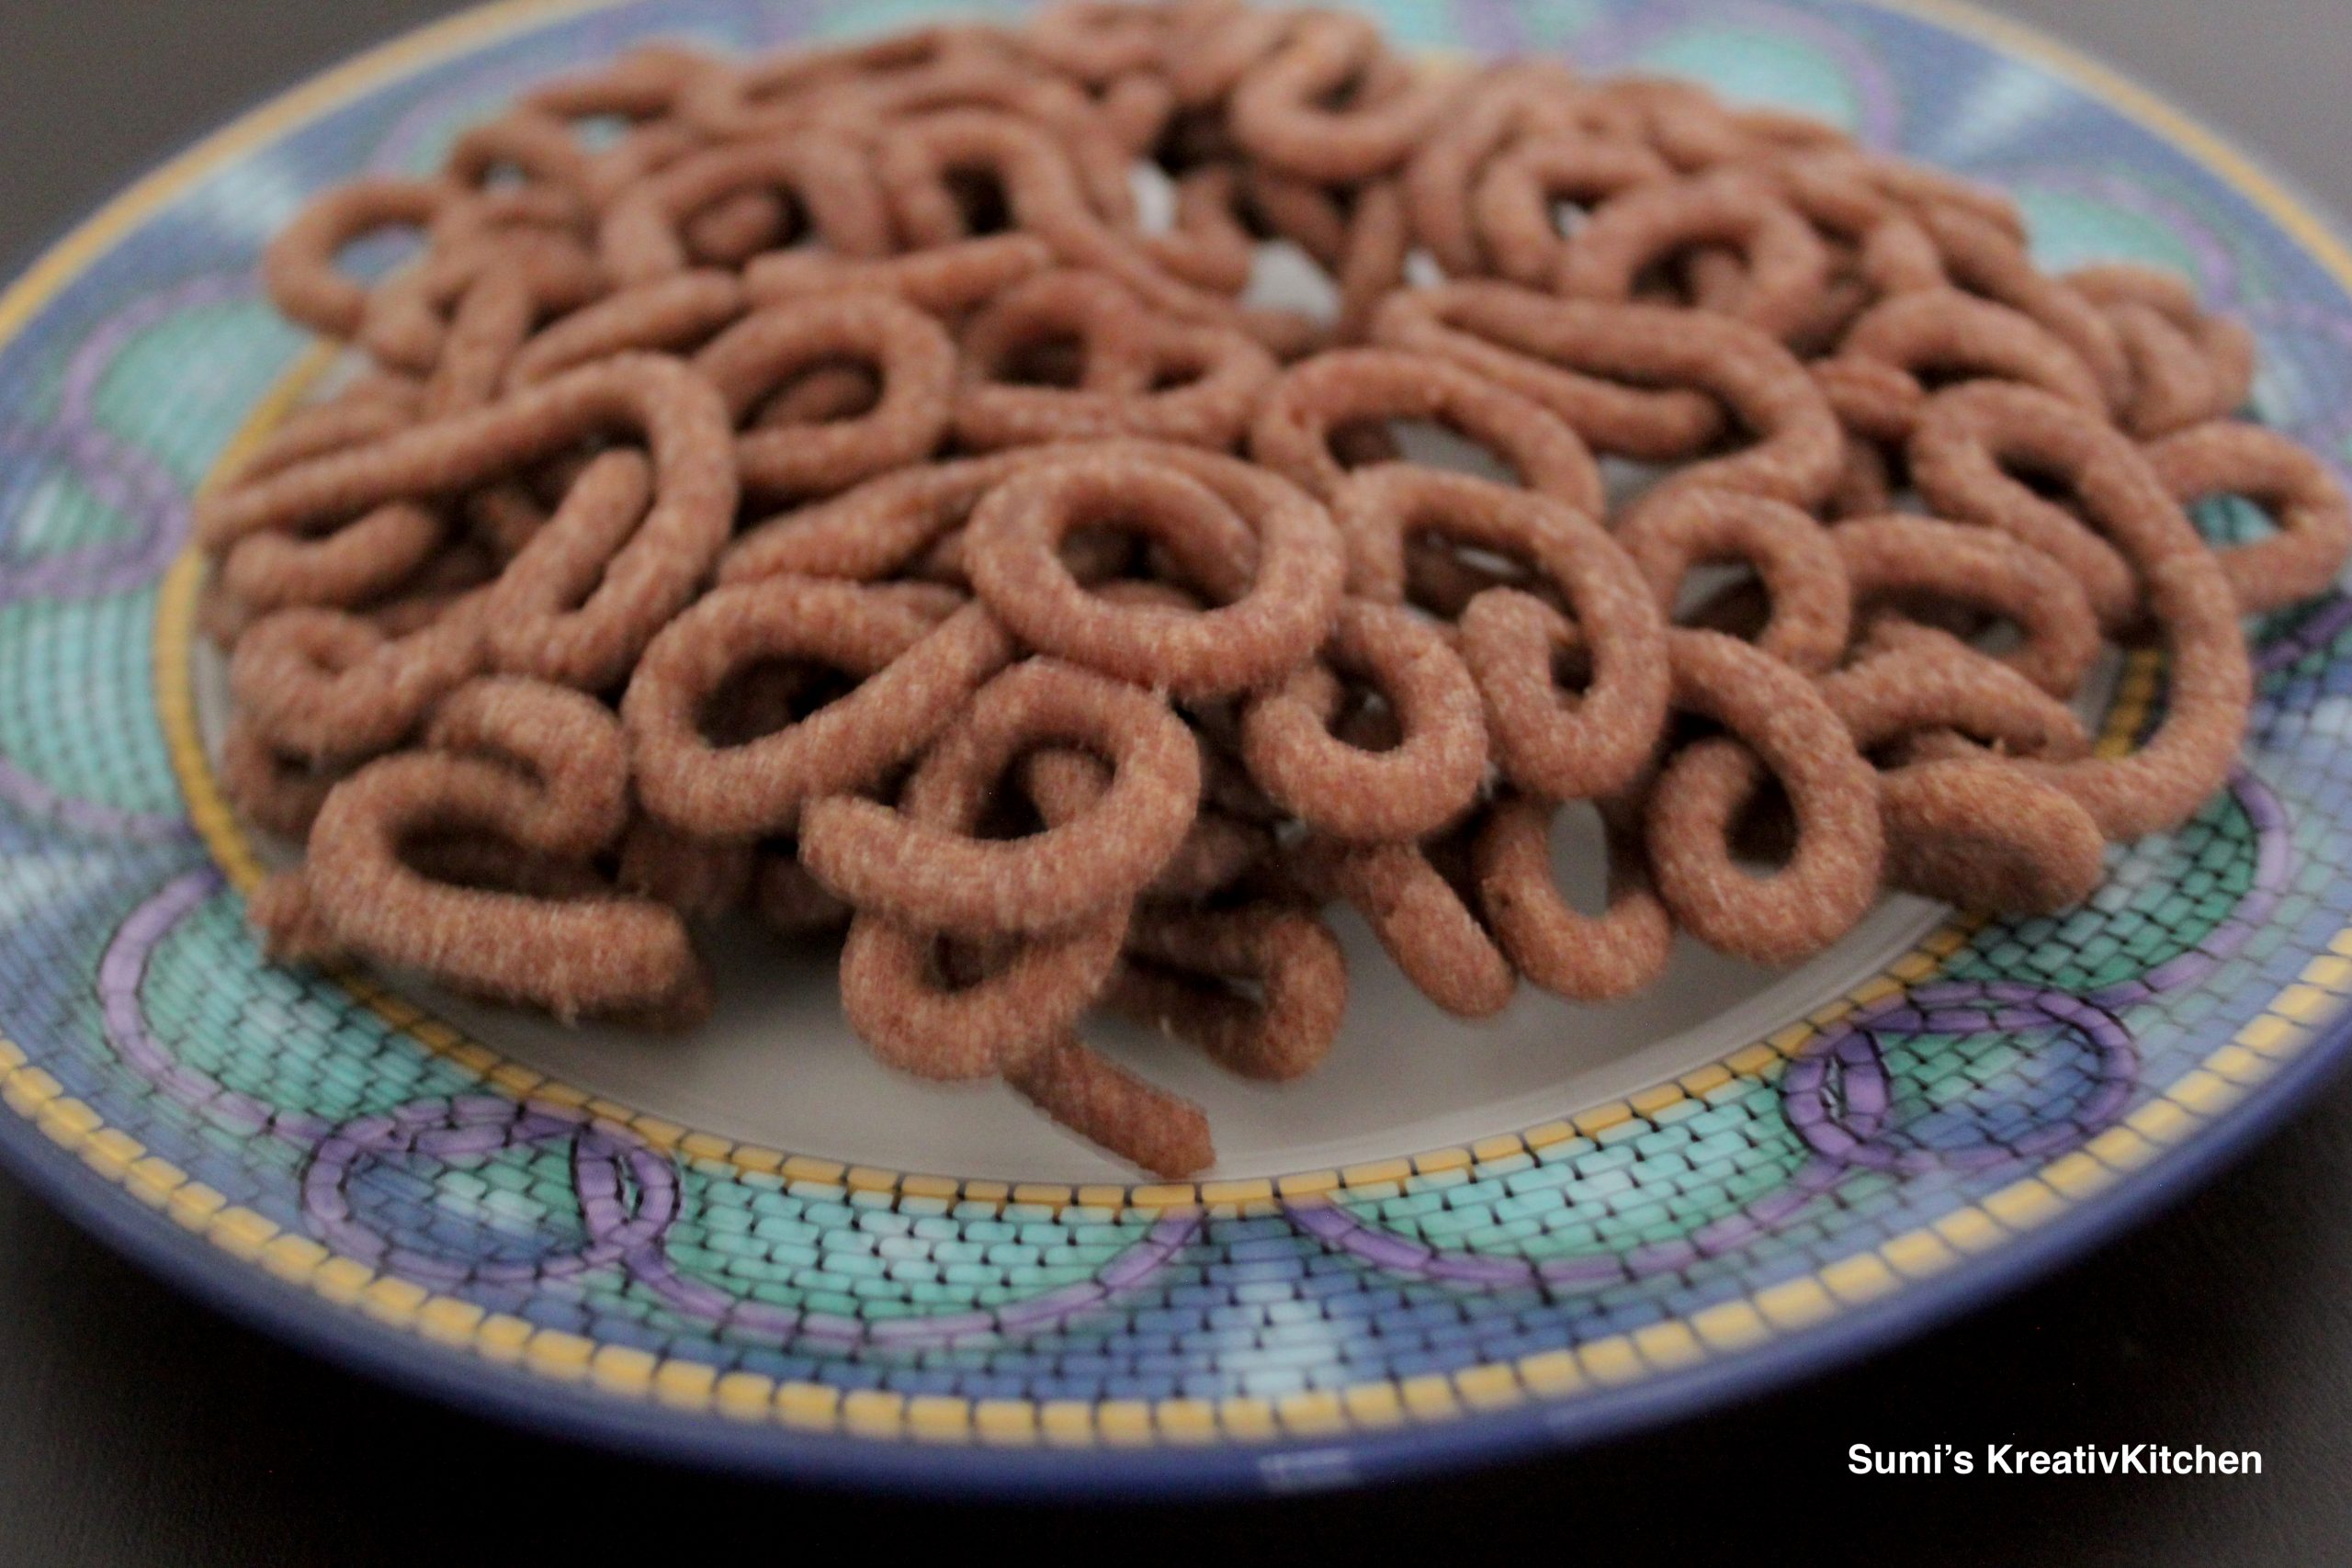
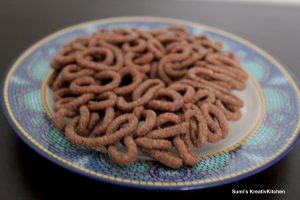
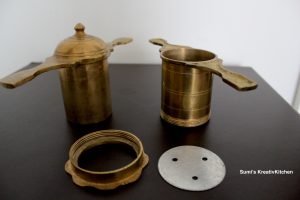
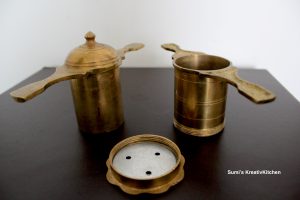
So, Thengozhal are the standard Tamilian versions of ‘chaklis’ or ‘murukkus’ as they are commonly known. Every region of India has a crispy treat made of rice and other flours….and Tamil Nadu is no exception. The traditional murukku press (shown here in the pictures) with the changeable plates for different styles of murukku is an important requirement!
I was my mother’s helper when she churned out these goodies every year during Janmashtami and Deepavali. Watching those crisp, golden, fried snacks emerging out of the oil and going in with a clank (!!) into a steel colander was the real test…you needed to hear that sound…if not, it means one has not done a good job of frying it well! These little tips go a long way. But, like I say, don’t take my word for it, cook and see I say!
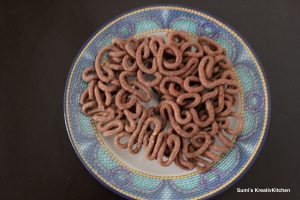
RAAGI THENGOZHAL
Ingredients
- 3 1/4 cups of Raagi Flour
- 3/4 cup Rice flour
- 1/2 cup Urad dal flour
- 3 tbsp Cumin Seeds
- Oil for frying
Instructions
To a large sieve add 3.25 cups of Raagi flour + 3/4 cup of Rice flour + 1/2 cup of Urad dal flour. Sieve on to a large platter.
Heat a wok and add the flours to it. Roast on medium flame till they get fragrant. Switch off the stove and transfer the flours back into the platter. Do not leave them in the wok, there is a danger of them burning in the residual heat.
When the flours are cool to touch, add salt to taste and 3 tbsp of Cumin seeds. Mix well.
Heat 4 tbsp of oil * and add to the flour mixture. Mix well with your clean hands.
Make a well in the center and slowly start adding water and kneading the dough. It should be a really soft dough but not sticky.**
Heat up oil in a small wok.
Affix the Thengozhal plate to the murukku press. Take a small portion of the dough, make it into a cylindrical form and stuff it into the murukku press.
Ensure that the oil is really hot. When you are ready to fry, reduce the heat a teeny bit, and start piping the Thengozhal into the oil (usually in 2 installments, not all at once unless you have a huge wok of oil).
Allow the Thengozhal to fry up. When the oil bubbles subside a little use a slotted spoon to turn it over and cook on the other side. When the oil bubbles almost fully subside and the color changes, carefully take out the Thengozhal on to a slotted spoon, allow excess oil to drip and transfer to a paper lined steel colander (with a plate underneath) or a platter lined with paper.
Plonk it down with a little force to hear the Clank! You know then that your product is where it should be 🙂
Repeat with the rest of the dough.
Keep your greed at bay and allow it to cool before lunging to stuff your face with the Thengozhal! But if you feel brave, go for it!! Don't forget to make yourself a hot cup of chai to go with it...Get others in the house to give you a massage for toiling over hot oil 🙂 and ration the goodies!
Notes
Notes to the Chef:
* If you are not vegan, you can heat up 2 tbsp of butter with 2 tbsp of oil and add to the flour mixture. Makes for a soft dough as well.
** You should not be able to roll out a roti with the dough. The moisture content needs to be higher. But it should not be overly sticky, the Thengozhal will not hold its shape! It just needs to be soft and pliable.