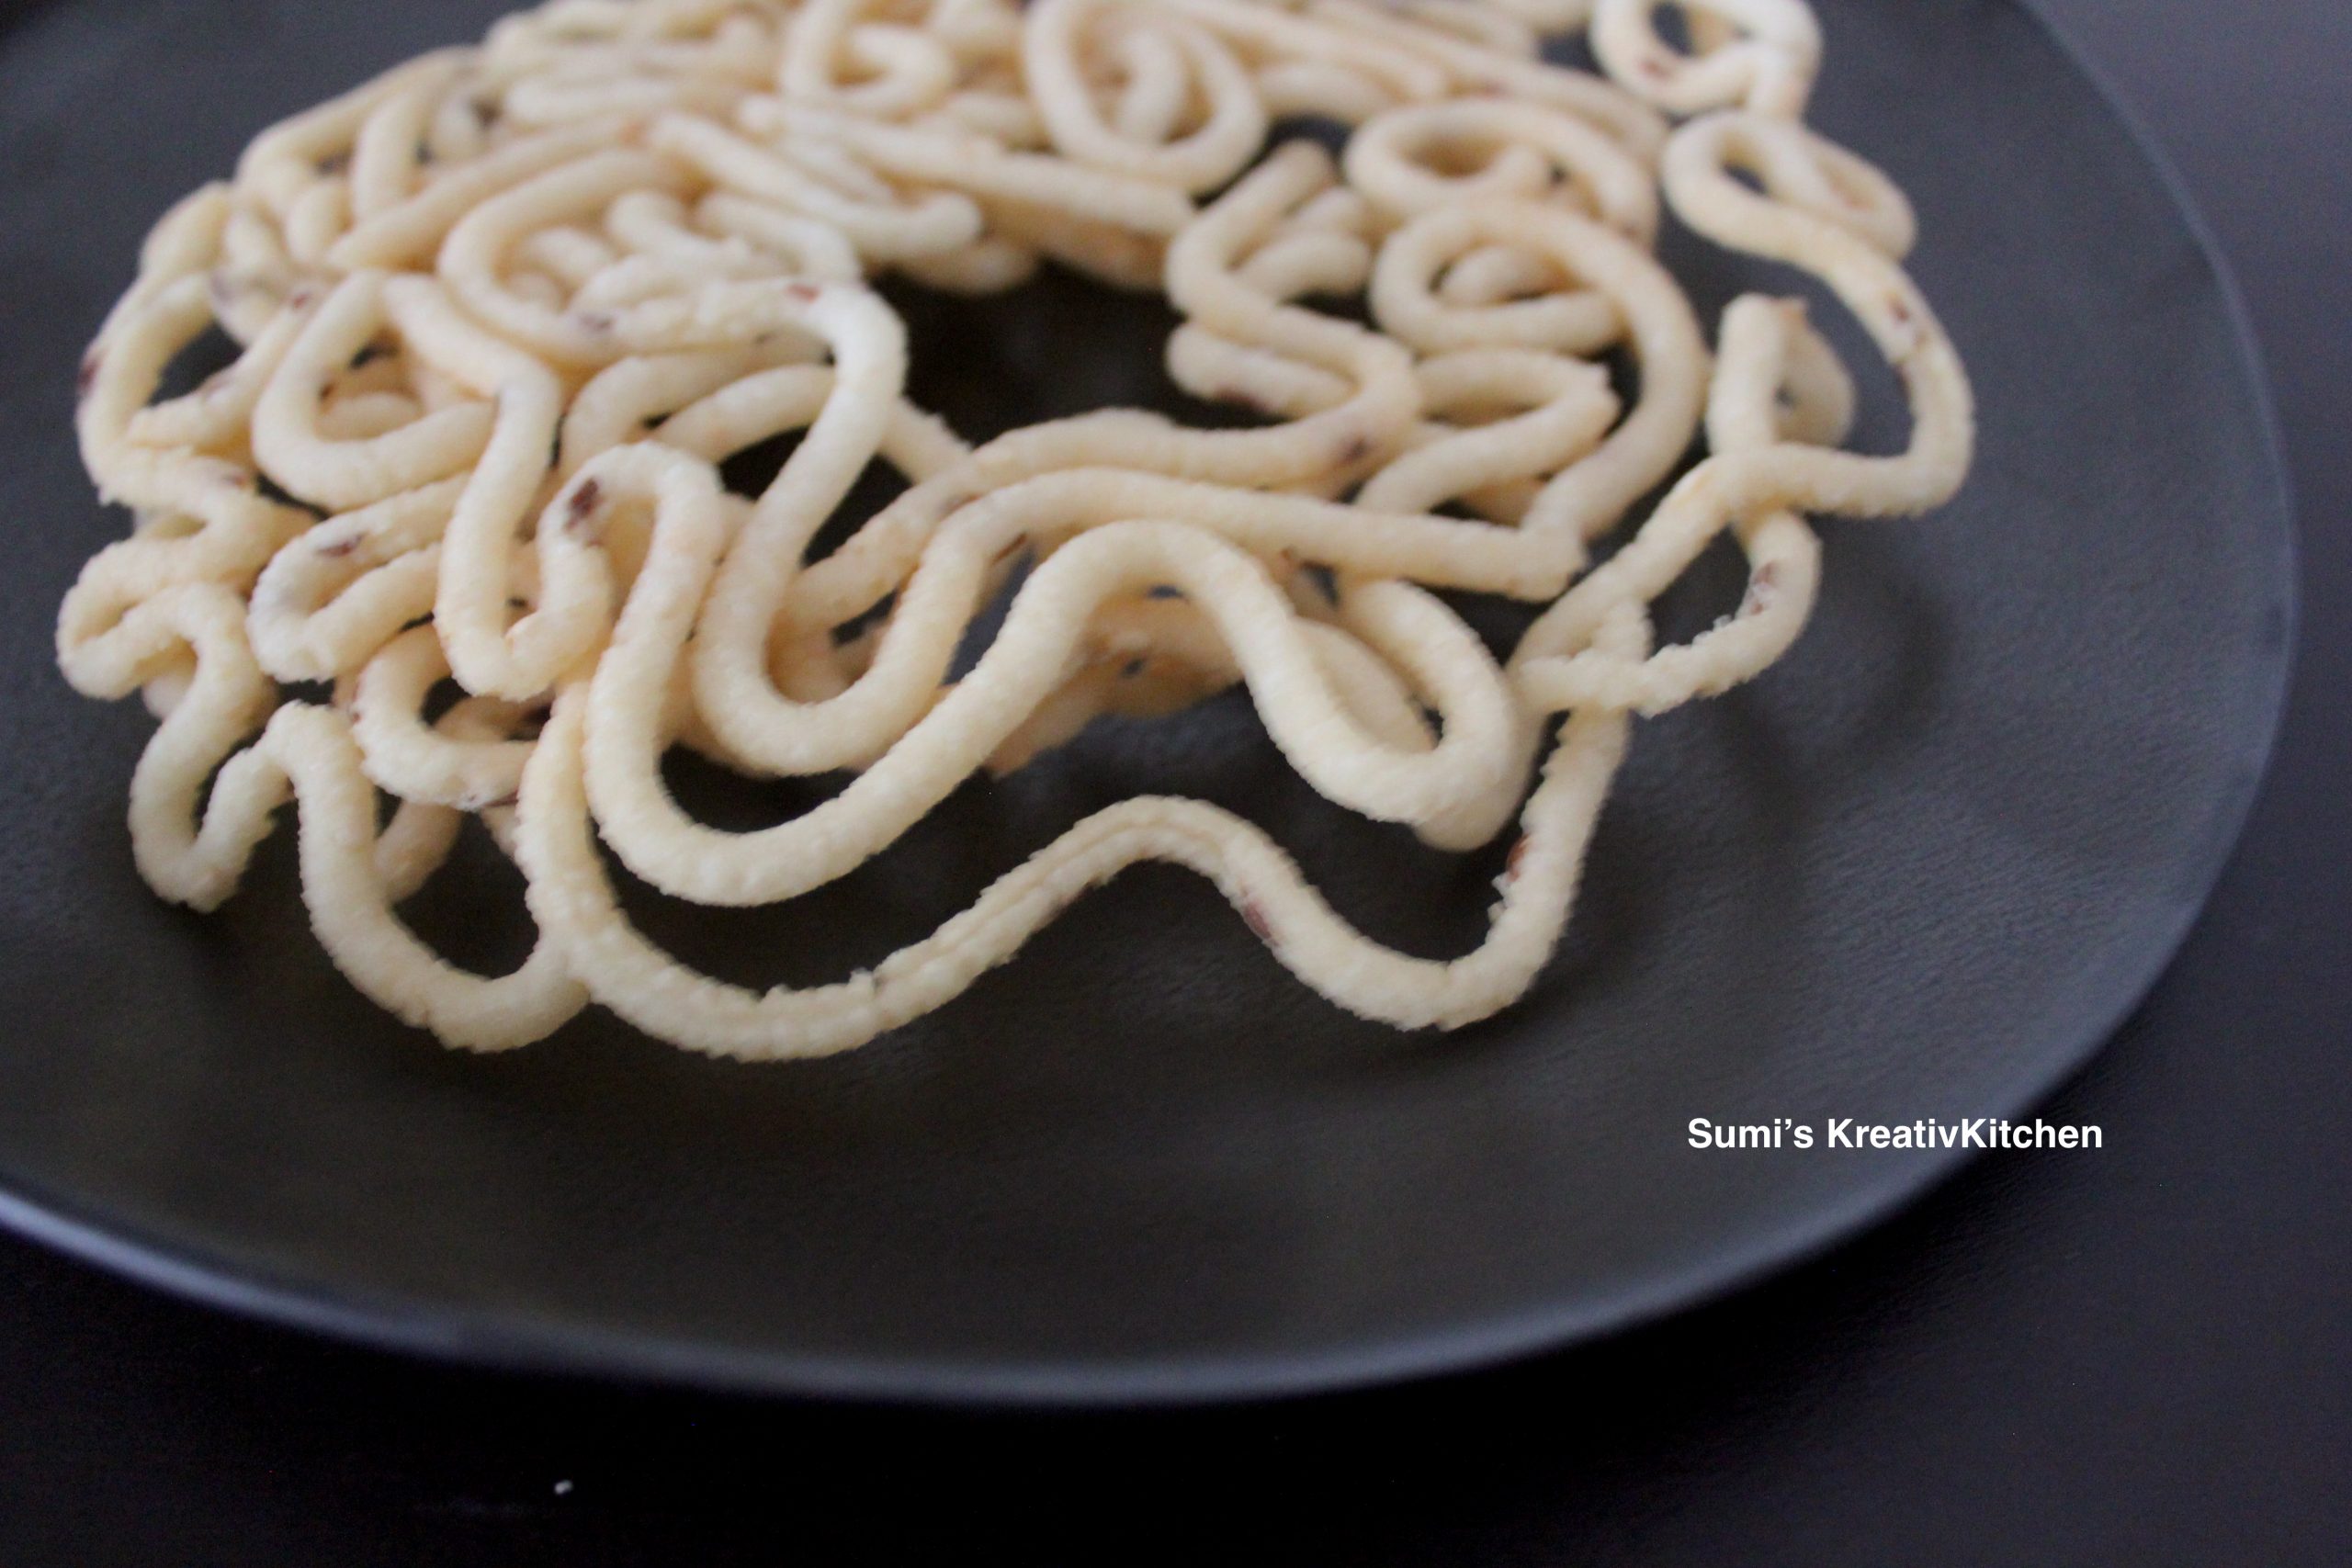
THENGOZHAL….a bit of a tongue twister for those not familiar with the ‘zha’ sound of Tamizh in Tamil 🙂 So, this is a type of murukku or ‘chakli’ from South India. This is the original recipe from my family, but the diverse forms that this popular snack takes on in the regional variations!
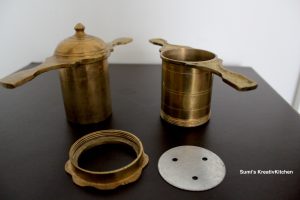
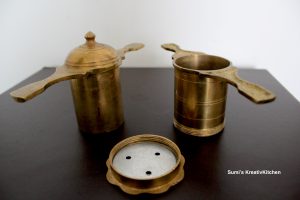
You absolutely need the traditional ‘murukku press’ to make this one, no getting away from it. It comes with various ‘plates’ that you can switch out depending on the type of ‘murukku’ you are interested in making. Here are pictures of what it looks like:
It is a very easy and straightforward recipe that has never ever failed me. And with the flours so easily available at the Indian store here in the US, it was a no-brainer when I was deciding on what snack to make in bulk to satisfy our cravings during this lockdown.
I made variations of this with Raagi Flour to make Raagi Thengozhal and switched to a star-shape plate to make Mullu Thengozhal with Jowar Flour…both of which turned out totally yummy!!
So, cook and see and I promise you will be making these on repeat!
THENGOZHAL
Ingredients
- 4 cups Rice flour
- 1/2 cup Urad dal flour
- 4 tbsp of Cumin seeds
Instructions
Place a sieve over a large bowl. Add 4 cups of rice flour + 1/2 cup of Urad dal flour. Sieve the flours into the bowl.
Add 4 tbsp of Cumin seeds and salt to taste.
Heat 4 tbsp of oil.*
Add to the flour mixture and mix well.
Make a well in the center and slowly add water little by little to make a soft dough but not too sticky.
Heat oil in a wok.
Affix the Thengozhal plate to the murukku press and grease the insides with oil.
Pinch a portion of the dough, make it into a cylindrical shape and place it in the murukku press.
When you are ready to fry, ensure that the oil is almost at a smoking point. Reduce the heat a little and start piping the Thengozhal into the hot oil. The oil will start bubbling once the dough hits the oil. Allow the Thengozhal to cook. When the oil bubbling starts to subside, use a slotted spoon and turn it over to cook on the other side. When the bubbles subside, it is an indication that the Thengozhal is cooked and ready to be taken out.
Use a slotted spoon to lift the Thengozhal out of the oil, allow excess oil to drip and transfer it to a paper-towel lined platter.
Drop it on to the platter with a little force and lot of glee so that you hear the CLANK! The sounds proves that your Thengozhal is crisp and has the perfect crisp texture!
Repeat till the dough is all done.
Allow the Thengozhal to cool completely and store in an airtight container or in a large ziplock bag ensuring that the all the air is pressed out.
Savor the Thengozhal with a steaming cup of chai/coffee or any beverage of your choice!
Notes
Notes to the Chef:
* If you are not vegan, then you can melt 2 tbsp of butter + 2 tbsp of oil and add to the dough to make a soft dough.